-
[iOS] ViewController 테스트 작성하기스위프트 2024. 1. 28. 16:40

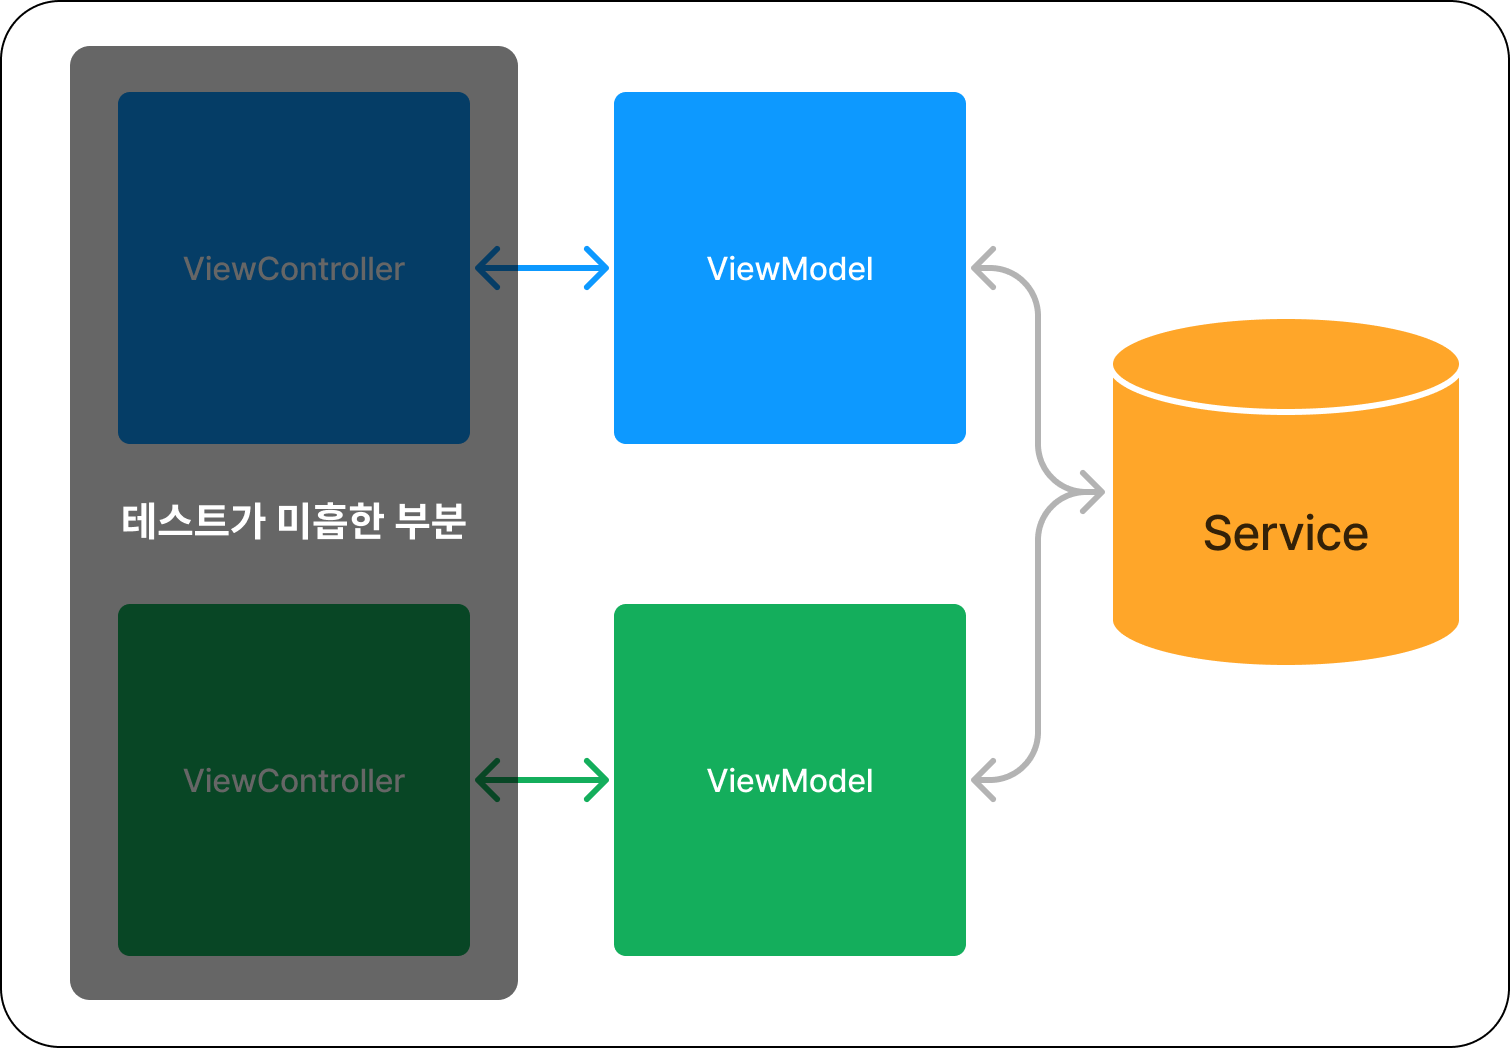
ViewController-ViewModel-Service 보통 테스트를 할 때 비즈니스 로직만 테스트를 하고 ViewController(UI)에 대한 테스트 작성은 미흡합니다.
왜 테스트가 미흡했고 어떻게 테스트를 작성할 수 있는지에 대해 알아봅시다.
테스트하기 어려운 이유 - 객체지향프로그래밍
전에 객체지향프로그래밍(OOP)에 대해 글을 작성했습니다.
2023.08.13 - [객체지향프로그래밍] - [OOP] 객체지향프로그래밍 기초
[OOP] 객체지향프로그래밍 기초
OOP의 개념 객체지향 프로그래밍 (Object Oriented Programming)은 프로그램을 단순히 데이터와 처리 방법으로 나누는 것이 아니라, 프로그램을 수많은 '객체(object)'라는 기본 단위로 나누고 이들의 상호
hogumachu.tistory.com
ViewController를 테스트하기 어려운 이유는 바로 캡슐화 때문입니다.
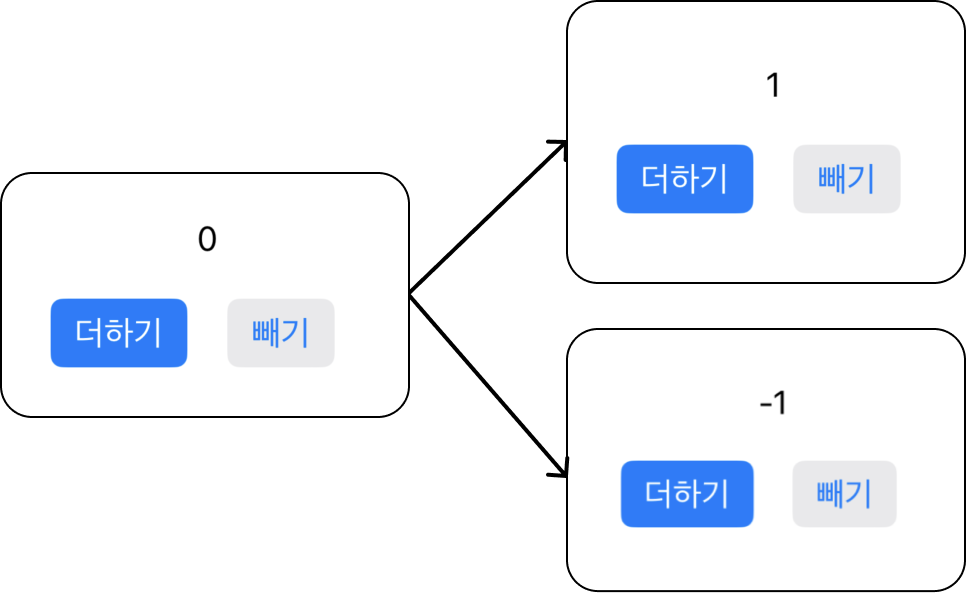
더하기 버튼을 누르면 값이 증가하고 빼기 버튼을 누르면 값이 감소하는 화면이 있다고 가정하겠습니다.

테스트 예시 캡슐화는 말 그대로 캡슐 안에 내용을 숨기는 것 입니다.
(알약 안에 있는 성분을 하나하나 확인하지 않고 우리는 그냥 알약을 먹습니다.)
만약 캡슐화를 하지 않았다면 위 예시를 테스트하는 것은 매우 간단합니다.
// 은닉화 하지 않은 ViewController

final class ViewController {
    let scoreLabel = UILabel()
    let plusButton = UIButton()
    let minusButton = UIButton()
}
func test_plus_button을_누르면_score가_1_증가한다() { // given let sut = ViewController() // when sut.plusButton.sendActions(for: .touchUpInside) // then XCTAssertEqual(sut.scoreLabel.text, "1") }위의 코드에 대한 테스트 작성이 매우 쉽습니다.
그러나 캡슐화(은닉화) 하지 않으면 외부에 의해 변경될 수 있으므로 캡슐화를 반드시 해야 합니다.

은닉화 접근성 식별자를 사용하자
Accessibility identifier를 사용하면 은닉화된 상태에도 UI Test가 가능해집니다.
accessibilityIdentifier | Apple Developer Documentation
A string that identifies the element.
developer.apple.com
모든 UI에는 접근성 식별자가 존재하여 이를 통해 은닉화된 값을 가져올 수 있습니다.
extension UIView {

    func search<T: UIView>(type: T.Type, accessibilityIdentifier: String) -> T? {
        for subview in subviews {
            if subview.accessibilityIdentifier == accessibilityIdentifier {
                return subview as? T
            } else {
                if let view = subview.search(type: type, accessibilityIdentifier: accessibilityIdentifier) {
                    return view
                }
            }
        }
        return nil
    }

}
해당 코드는 접근성 식별자를 통해 값이 존재하면 해당 객체를 반환하는 메서드입니다.
enum UITestError: Error {
    case emptyAccessibilityIdentifier
}

extension UIViewController {

    func search<T: UIView>(type: T.Type, accessibilityIdentifier: String) throws -> T {
        if let result = view.search(type: type, accessibilityIdentifier: accessibilityIdentifier) {
            return result
        } else {
            throw UITestError.emptyAccessibilityIdentifier
        }
    }

}
이런 식으로 UIViewController에도 메서드를 추가해 주면 사용하기 편리합니다.
ViewController 테스트 작성하기
final class ViewController {
    private let scoreLabel = UILabel()
    private let plusButton = UIButton()
    private let minusButton = UIButton()

    override func viewDidLoad() {
        super.viewDidLoad()
        scoreLabel.accessibilityIdentifier = "score_label"
        plusButton.accessibilityIdentifier = "plus_button"
        minusButton.accessibilityIdentifier = "minus_button"
    }
}
먼저 접근성 식별자 값을 설정합니다.
func test_plus_button을_누르면_값이_1_증가한다() throws {
    // given
    let sut = ViewController()
    let button = try sut.search(type: UIButton.self, accessibilityIdentifier: "plus_button")
    let label = try sut.search(type: UILabel.self, accessibilityIdentifier: "score_label")

    // when
    button.sendActions(for: .touchUpInside)

    // then
    XCTAssertEqual(label.text, "1")
}
테스트를 작성합니다.
끝
결론
1. 캡슐화(은닉화)로 인해 ViewController 테스트하기 어렵다.
2. AccessibilityIdentifier를 활용하면 된다.
3. 좋은 라이브러리가 많으니 골라서 사용하면 더욱 쉽게 테스트할 수 있다.
해당 게시글의 소스 코드는 아래 링크에서 보실 수 있습니다.
https://github.com/hogumachu/Laboratory/tree/master/UITestSampleApp
'스위프트' 카테고리의 다른 글
[iOS] SwiftUI, TCA 모듈화 그리고 RIBs (4) 2024.05.05 [iOS] 테스트를 작성해야 하는 이유 (1) 2024.01.21 [iOS] 모듈화를 해야 하는 이유 (0) 2024.01.14 [iOS] ViewController Life Cycle (+ ViewIsAppearing) (0) 2023.09.02 [iOS] RxSwift를 이용하여 키보드 컨트롤하기 (NotificationCenter) (0) 2023.08.22